

Good product photos with a phone are entirely achievable, and they matter more than almost anything else on your listing. Buyers cannot touch your product, so images do the work that handling would do in a shop.
You do not need a camera, a studio or lighting equipment. A recent phone, a window, some white card and half an hour of setup will produce images that hold their own next to professional listings.
What you do need is consistency and honesty. This guide covers the setup, the shot list, the editing that is fair, and the editing that crosses into misleading buyers.
Get the light right, everything else is secondary
Lighting is the difference between an amateur photo and a clean one. Phones handle bright, soft light beautifully and struggle with everything else.
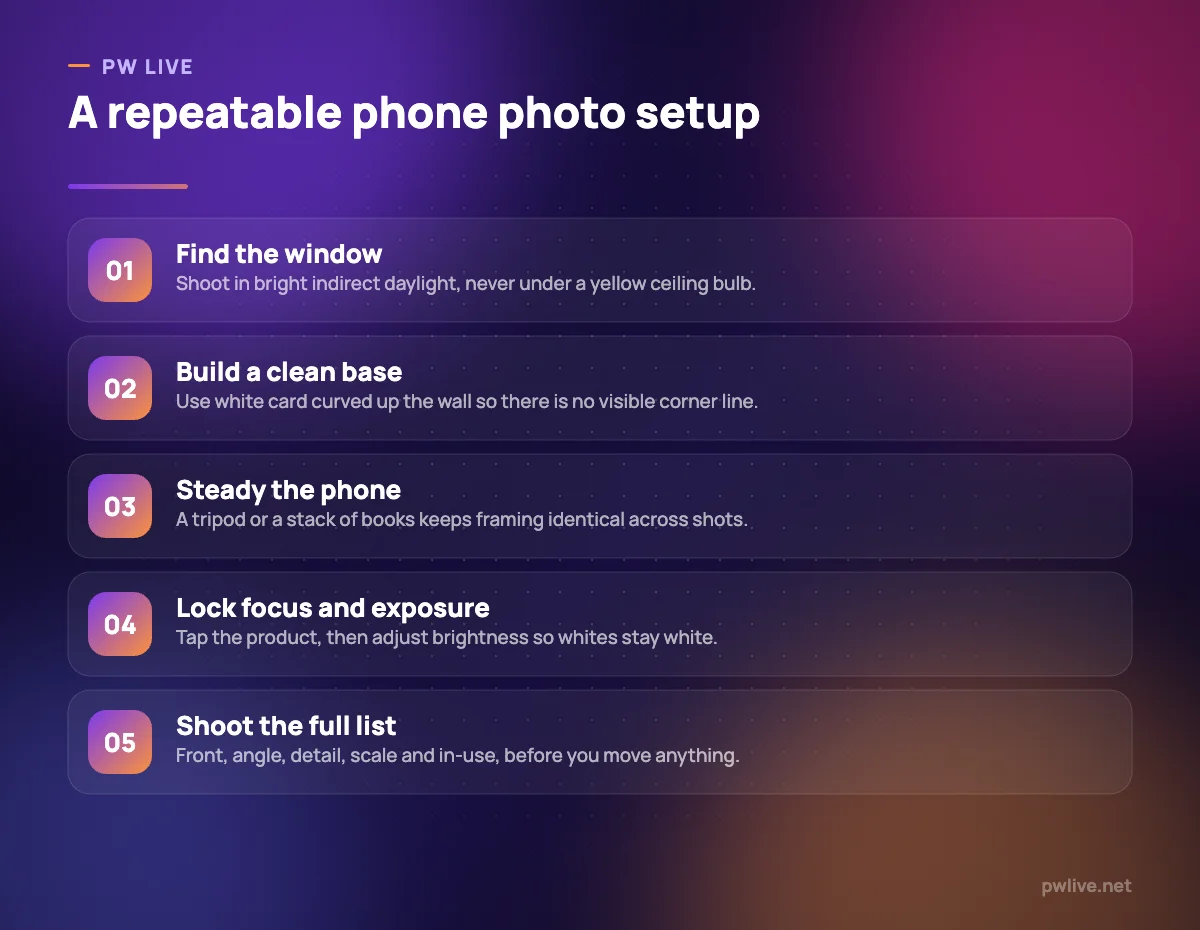
The best free light source is a large window on an overcast day, or a window not in direct sun. Place your product a metre or so from it, side-on rather than facing it, so you get gentle shadow that shows shape.
Three things to avoid:
- Direct sunlight, which creates hard shadows and blown-out highlights.
- Ceiling bulbs and tube lights, which cast a yellow or green colour tint and are usually too dim, forcing the phone to add noise.
- Mixed light, such as a window plus a warm lamp, which makes colour impossible to correct.
If shadows on the dark side are too deep, prop a piece of white card opposite the window to bounce light back. That single piece of card is the cheapest lighting upgrade available.
Build a background you can rebuild tomorrow
Buyers should look at the product, not your table. A plain background also makes your listing grid look coherent.
The simplest setup is a sheet of white A2 or chart paper laid on a table and curved up against the wall behind. The curve removes the horizontal line where table meets wall, which is what makes photos look like a studio shot.
For larger items, a plain wall and a clean floor work. For small items, a white tray or a sheet of card is enough. Keep a second background in a mid grey or a texture that suits your brand if white feels flat, but use it consistently.
Remove clutter from the frame before you shoot, not afterwards in editing. It is faster.
Set the phone up properly
A few settings turn a decent phone into a reliable product camera.
- Clean the lens. Pocket lint and fingerprints are the most common cause of soft, hazy photos.
- Use the main camera, not the ultra-wide, which distorts shapes at close range.
- Turn the flash off. On-camera flash flattens texture and creates harsh reflections.
- Tap to focus on the product, then drag the brightness slider so white stays white rather than grey.
- Turn on the grid and keep the product centred and level.
- Steady the phone. A cheap tripod, or a stack of books, keeps framing identical across a whole batch.
- Shoot at the highest quality setting your phone offers, so you have room to crop.
Take a step back and zoom slightly rather than pushing the lens very close. It gives more natural proportions.
Shoot a full set, not a single hero image
One photo is never enough. Buyers scroll through images looking for the specific thing they are unsure about. Give them a standard set for every product.
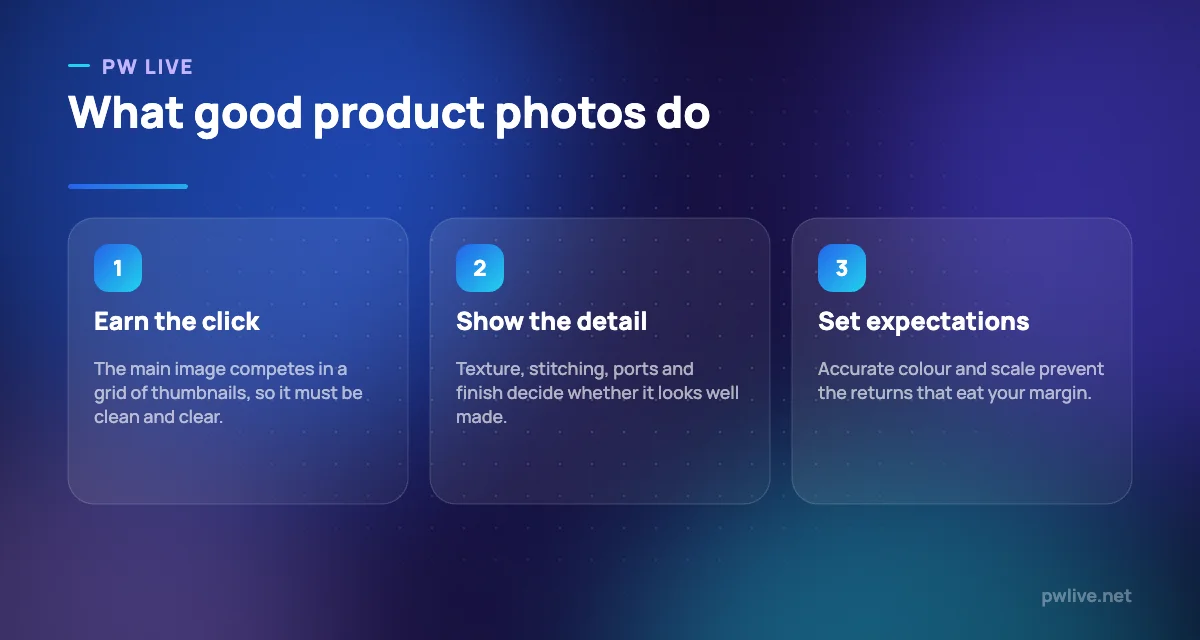
- Main image: the whole product, straight on, centred, on a plain background. This is your thumbnail, so keep it uncluttered.
- Angles: three-quarter view, back and side, so nothing is hidden.
- Detail shots: texture, stitching, closure, port, finish, label or anything that signals quality.
- Scale shot: the product next to a common object, held in a hand, or with a measuring tape visible.
- In-use shot: the product where it belongs, being worn, used or installed.
- What is in the box: everything laid out flat, including accessories and manuals.
The scale shot is quietly the most valuable one. A large proportion of size-related returns come from buyers who misjudged dimensions, and a single photo with a hand or a ruler prevents most of them. Our guide to logistics basics for Indian sellers explains why each avoided return matters to your margin.
Edit fairly, and know where the line is
Editing is normal and expected. What is not acceptable is editing that changes what the buyer will receive.
Fair edits:
- Cropping and straightening.
- Correcting white balance so the background looks white and the colour matches reality.
- Modest brightness and contrast adjustment.
- Removing dust specks from the background.
- Placing the product on a clean white background for a marketplace’s main-image rules.
Edits that mislead:
- Boosting saturation until the colour no longer matches the actual item.
- Smoothing away flaws, scratches or texture that exist on the product you will ship.
- Adding features, accessories or contents that are not included.
- Using a manufacturer’s stock image for a product you sell in a different variant or condition.
- Composite images that imply a size, setting or performance the product does not deliver.
The test is simple. If a buyer opened the parcel, put the item next to your photo and felt tricked, the edit went too far. Beyond the ethics, misleading images generate returns, negative reviews and, in regulated categories, real legal exposure. The same honesty principle runs through how to write product descriptions that convert.
Use a free editing app on your phone or computer and keep your adjustments modest. Save your settings so every product in a range is treated identically.
Keep the whole set consistent
Consistency is what makes a small catalogue look like a real brand. Once you find a setup that works, photograph it and write down the details: window, distance, background, phone position, editing preset.
Then apply the same treatment to everything. Same background, same crop ratio, same amount of empty space around the product, same angle for main images. When a buyer scrolls your store or your marketplace storefront, it should feel like one shop rather than ten.
Also check the requirements of wherever you are listing. Marketplaces usually specify minimum resolution, aspect ratio and rules for the main image such as a pure white background with no text or watermark. Meeting those rules is often a condition of your listing being shown.
Name and store your files sensibly
Two small habits save a lot of time later.
Rename files descriptively before uploading: product name, variant, shot type. It helps with search on your own site and makes finding an image in six months painless.
Keep the originals in a dated folder, backed up somewhere other than the phone. You will re-crop them for social posts, ads, email and a redesigned site, and reshooting a discontinued product is impossible. Our guide to backing up your notes and files covers a simple system for this.
Compress images before uploading to your own site so pages load quickly, since slow product pages lose buyers. For related guidance, browse the e-commerce category, and if you want to sharpen the visual side generally, the design and creativity skill track and our roundup of free design tools are good next stops.
Key takeaways
- Bright indirect daylight from a window beats any indoor bulb, and a white card reflector fixes deep shadows.
- Curve a sheet of white paper from table to wall to remove the corner line and get a studio look.
- Clean the lens, use the main camera, turn off flash, tap to focus and steady the phone before shooting.
- Shoot a full set: main, angles, detail, scale, in use and what is in the box.
- Edit for accuracy only; never change colour, texture or contents in a way that misleads the buyer.
- Keep the setup, crop and editing identical across products, and store original files backed up and clearly named.
Frequently asked questions
Do I need a lightbox or studio lights?
No. A window with indirect daylight and a white card reflector produces excellent results for most products. A small lightbox helps if you shoot tiny items at night, but it is optional.
What if my product is shiny or reflective?
Diffuse the light by hanging a thin white curtain or a sheet over the window, and move yourself and any clutter out of the reflection. Shooting slightly off-axis also avoids seeing the phone in the surface.
How many photos should each listing have?
Aim for at least five to seven: main, two angles, a detail, a scale reference and one in use. Check your marketplace’s maximum and fill as many useful slots as you can.
Is it acceptable to use the supplier’s photos?
Only if you have permission and the images show exactly the variant and condition you ship. Your own photos usually convert better anyway, because they look specific rather than generic.
Keep learning with PW Live
Browse every guide in E-commerce & Retail, or pick a skill track and follow the roadmap step by step.





Leave a Reply